
home
Weights & Biases, developer tools for machine learning
wandb.ai
위의 홈페이지에 가입하기
예제 코드 URL
how to integrate Weights & Biases with your Keras
1. config에 hyperparameter와 metadata를 저장한다
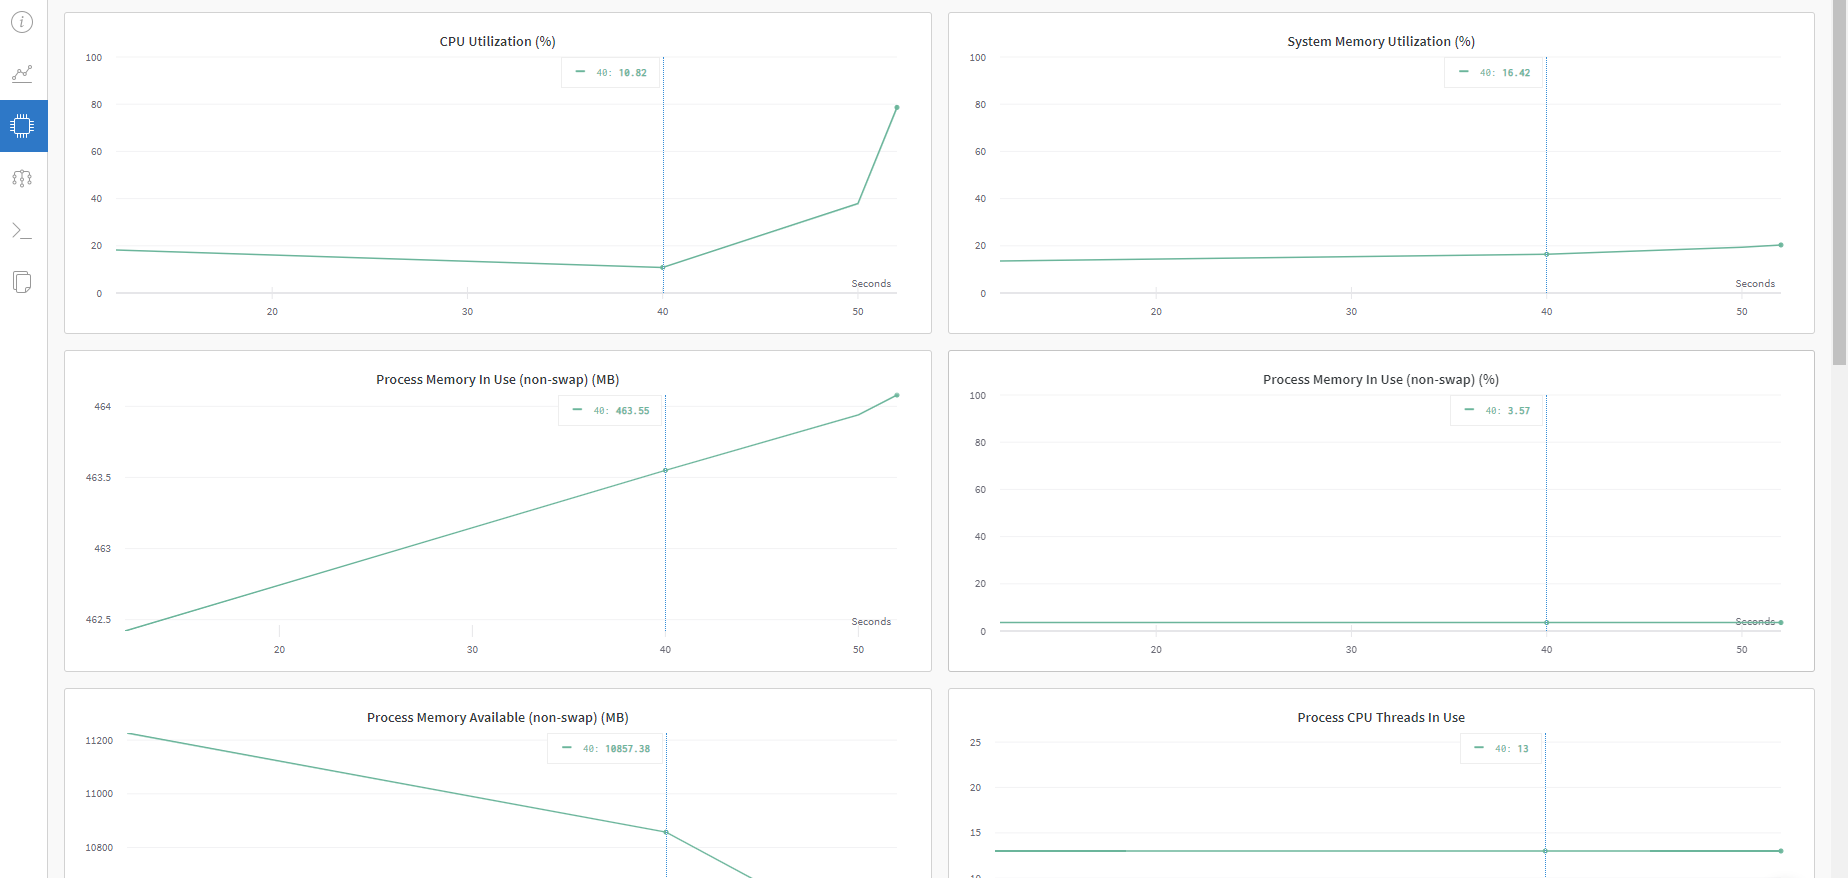
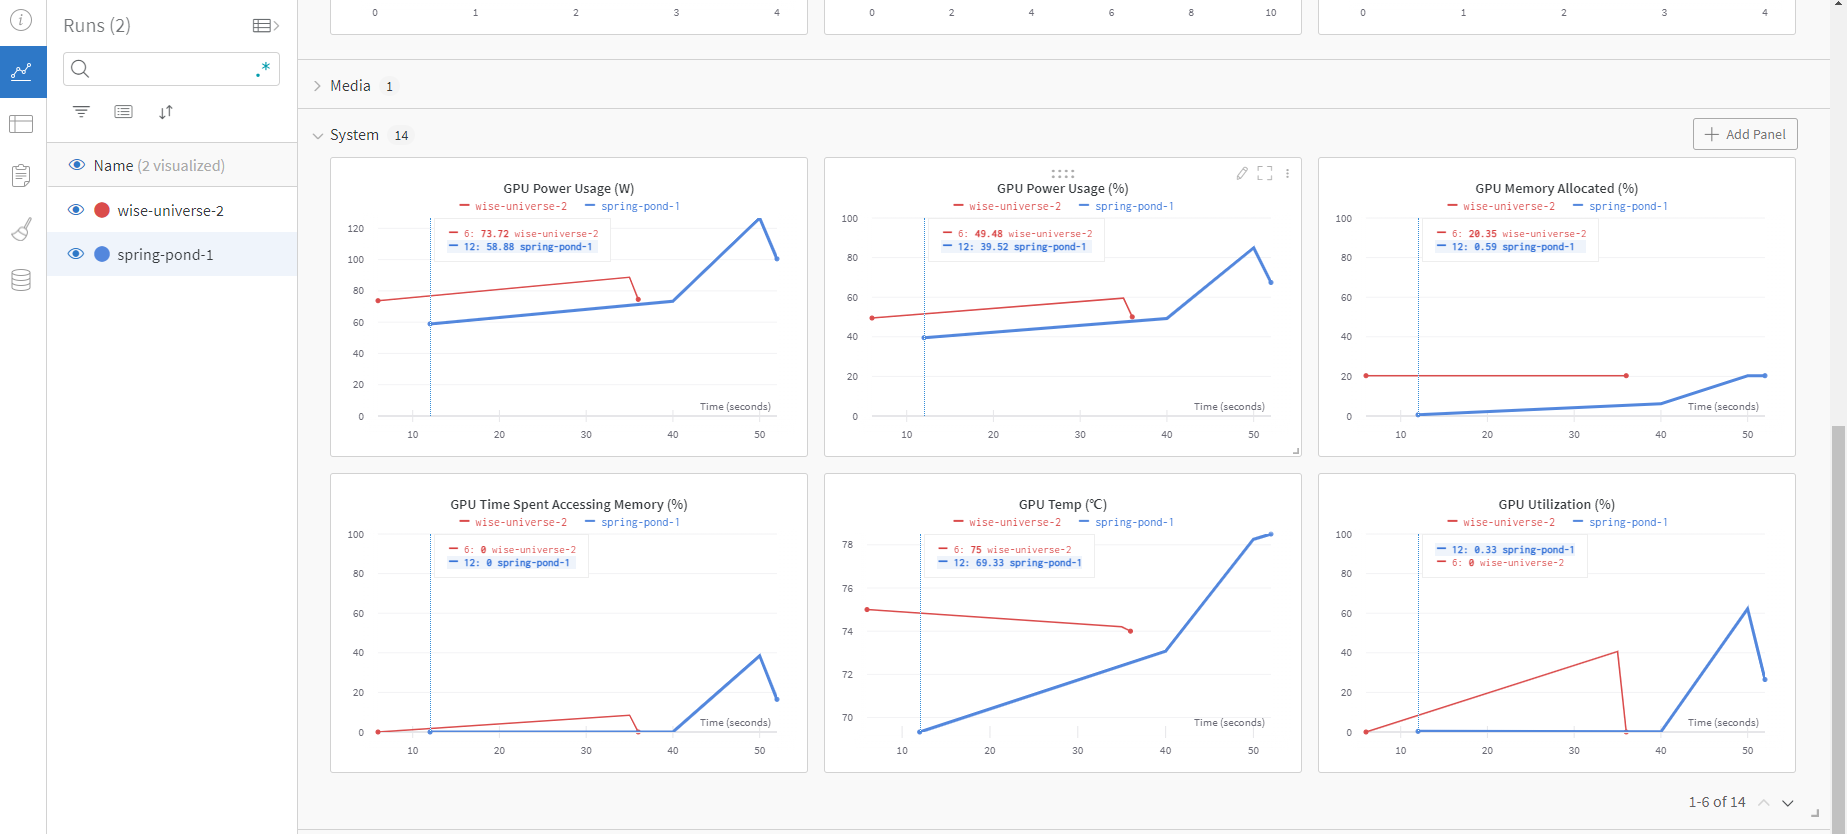
2. WandCallback을 model.fit에 적어준다. 그럼 자동적으로 loss, CPU/GPU utilization을 추적한다
3. wandb.log API로 추적한다
아래 예제는 CIFAR-10 dataset을 기반으로 작성되었으며
모델이 실수했을 때를 포착하는 방법에 대해 기술되었다
Install & Import & Login
import os
import random

import matplotlib.pyplot as plt
import numpy as np
import pandas as pd
import tensorflow as tf
from tensorflow import keras
from tensorflow.keras.datasets import cifar10

# Set the random seeds
os.environ['TF_CUDNN_DETERMINISTIC'] = '1'
random.seed(hash("setting random seeds") % 2**32 - 1)
np.random.seed(hash("improves reproducibility") % 2**32 - 1)
tf.random.set_seed(hash("by removing stochasticity") % 2**32 - 1)
%%capture
!pip install wandb
import wandb
from wandb.keras import WandbCallback
wandb.login()
👩🍳 Prepare Dataset
(x_train, y_train), (x_test, y_test) = cifar10.load_data()

# Subsetting train data and normalizing to [0., 1.]
x_train, x_test = x_train[::5] / 255., x_test / 255.
y_train = y_train[::5]

CLASS_NAMES = ["airplane", "automobile", "bird", "cat",
               "deer", "dog", "frog", "horse", "ship", "truck"]

print('Shape of x_train: ', x_train.shape)
print('Shape of y_train: ', y_train.shape)
print('Shape of x_test: ', x_test.shape)
print('Shape of y_test: ', y_test.shape)
🧠 Define the Model
def Model():
  inputs = keras.layers.Input(shape=(32, 32, 3))

  x = keras.layers.Conv2D(filters=32, kernel_size=(3, 3), activation='relu')(inputs)
  x = keras.layers.Conv2D(filters=32, kernel_size=(3, 3), activation='relu')(x)
  x = keras.layers.MaxPooling2D(pool_size=2)(x)

  x = keras.layers.Conv2D(filters=32, kernel_size=(3, 3), activation='relu')(x)
  x = keras.layers.Conv2D(filters=32, kernel_size=(3, 3), activation='relu')(x)

  x = keras.layers.GlobalAveragePooling2D()(x)

  x = keras.layers.Dense(128, activation='relu')(x)
  x = keras.layers.Dense(32, activation='relu')(x)

  outputs = keras.layers.Dense(len(CLASS_NAMES), activation='softmax')(x)

  return keras.models.Model(inputs=inputs, outputs=outputs)
🏃♀️ Training Loop - Add "wandb.log"
wandb를 초기화시키기
wandb.init 사용법 및 에러 : https://docs.wandb.ai/guides/track/launch
# Initialize wandb with your project name
run = wandb.init(project='my-keras-integration',
                 config={  # and include hyperparameters and metadata
                     "learning_rate": 0.005,
                     "epochs": 5,
                     "batch_size": 1024,
                     "loss_function": "sparse_categorical_crossentropy",
                     "architecture": "CNN",
                     "dataset": "CIFAR-10"
                 })
config = wandb.config  # We'll use this to configure our experiment

# Initialize model like you usually do.
tf.keras.backend.clear_session()
model = Model()
model.summary()

# Compile model like you usually do.
# Notice that we use config, so our metadata matches what gets executed
optimizer = tf.keras.optimizers.Adam(config.learning_rate)
model.compile(optimizer, config.loss_function, metrics=['acc'])
# We train with our beloved model.fit
# Notice WandbCallback is used as a regular callback
# We again use config
_ = model.fit(x_train, y_train,
          epochs=config.epochs,
          batch_size=config.batch_size,
          validation_data=(x_test, y_test),
          callbacks=[WandbCallback()])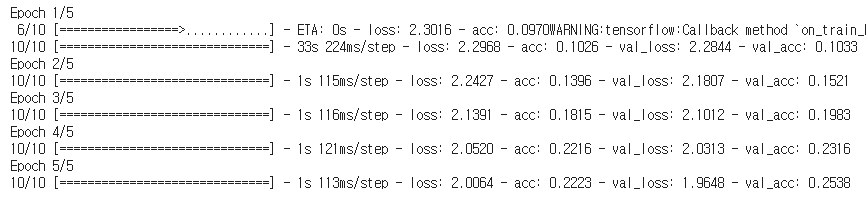
model summary 사진 속에서
빨간색 동그라미 속 링크를 클릭하면,


파란색 동그라미를 클릭하면
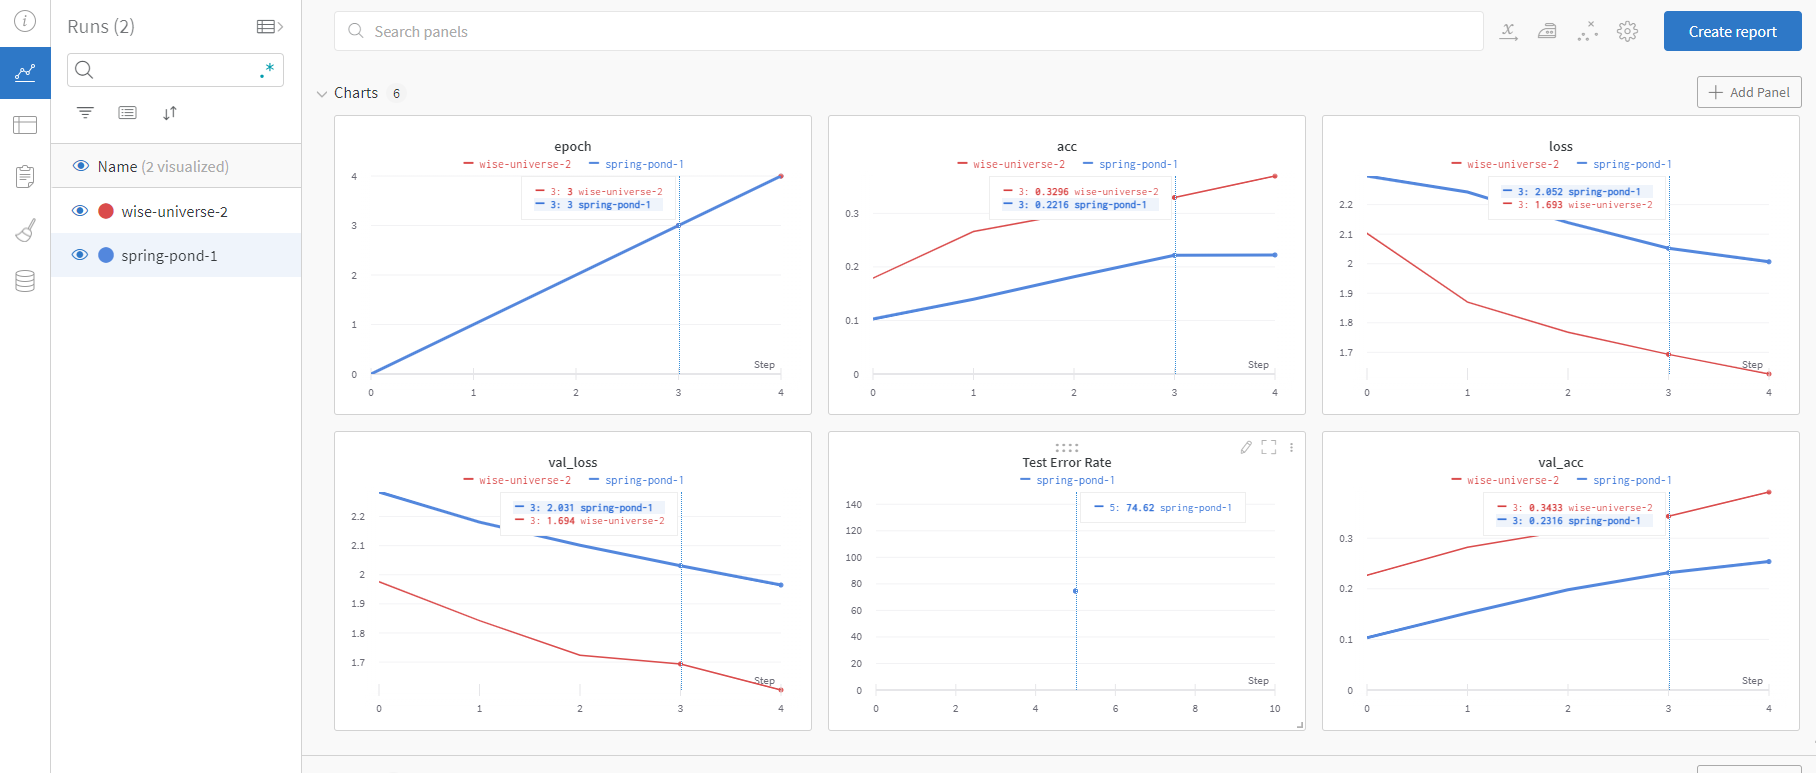

👀 Visualize Results - Use wandb.log for custom metrics
loss, accuracy = model.evaluate(x_test, y_test)
print('Test Error Rate: ', round((1 - accuracy) * 100, 2))

# With wandb.log, we can easily pass in metrics as key-value pairs.
wandb.log({'Test Error Rate': round((1 - accuracy) * 100, 2)})

run.finish()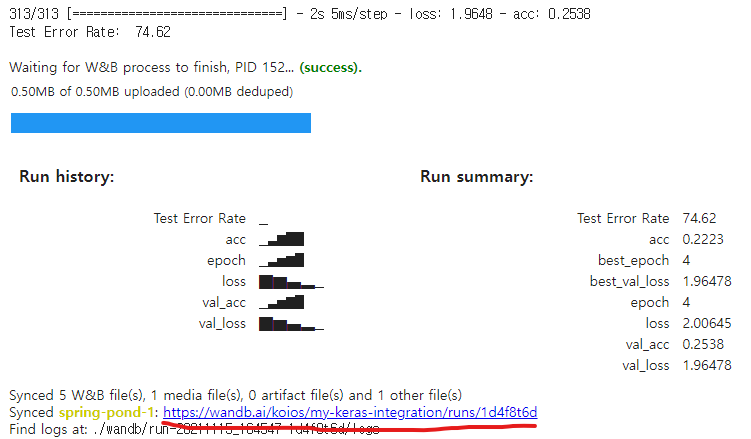
+) Offline mode (for Kaggle Competition)
그런데 !pip install wandb 때문에 제출까지는 불가능하지 않을까...?
https://docs.wandb.ai/guides/technical-faq#can-i-run-wandb-offline
Technical FAQ - Documentation
Yes, you can do this by logging your indices (e.g. batch and epoch) whenever you log your other metrics. So in one step you could call wandb.log({'train_accuracy': 0.9, 'batch': 200}) and in another step call wandb.log({'val_acuracy': 0.8, 'epoch': 4}). Th
docs.wandb.ai
Using W&B in a Kaggle Competition
Publish your model insights with interactive plots for performance metrics, predictions, and hyperparameters. Made by Lavanya Shukla using Weights & Biases
wandb.ai
'Machine Learning > 논문\코드 정리' 카테고리의 다른 글
| Fast R-CNN (0) | 2022.01.21 |
|---|---|
| Numpy(matrix 생성) & Pandas(dataframe 생성) (0) | 2021.11.17 |
| [논문][Activation] Mish Activation Function (0) | 2021.11.07 |
| [TF] Resnet152V2로 토마토 병해충 이미지 분류 (0) | 2021.10.07 |
| [TF][DACON] 영화 관객수 예측하기 - XGBoost, K-Fold (0) | 2021.08.25 |